


A tracheostomy is a critical procedure that creates an opening (stoma) in the neck to place a tube into the trachea (windpipe).
While the idea of managing a trach at home may seem daunting, with proper education and a consistent routine, it becomes a manageable part of daily life.
🩺 What is a tracheostomy Indications?
A tracheostomy is performed to secure an airway when a patient cannot breathe adequately or safely through their nose and mouth. Based on sources like the National Institutes of Health (NIH) and current critical care standards, the primary indications include:
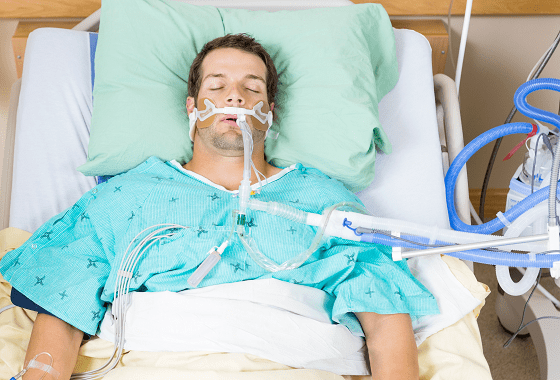
1) Prolonged Mechanical Ventilation: When a patient is expected to require a breathing machine for an extended period (~2 weeks), a tracheostomy is often safer and more comfortable than a tube through the mouth (endotracheal tube).
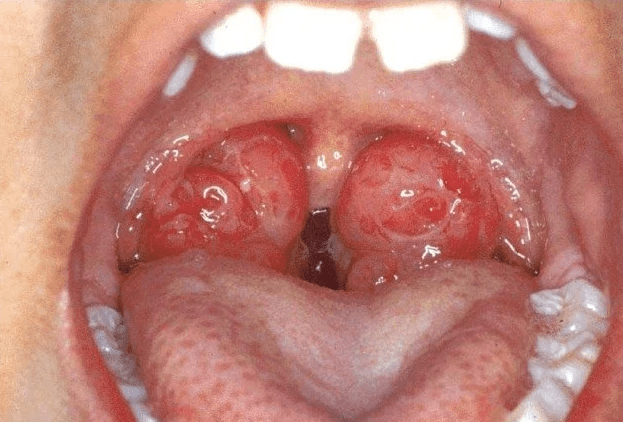
2) Upper Airway Obstruction: To bypass blockages caused by conditions like severe neck or facial trauma, tumors, severe infection, or swelling (edema) in the voice box or throat.
3) Pulmonary Hygiene/Secretion Clearance: For patients with neuromuscular disorders (e.g., ALS, stroke) or a weakened cough reflex, the tube allows direct, effective suctioning to prevent aspiration pneumonia and clear thick secretions.
4) Airway Protection: For those with impaired swallowing (severe aspiration risk e.g. in post stroke patients), a cuffed tracheostomy tube may be used to minimize the risk of food or fluid entering the lungs.
🏡 Mastering Home Tracheostomy Care
The three core objectives of home care are to ensure a patent (open) airway, prevent infection, and maintain skin integrity around the stoma. Sterile technique is paramount in all care procedures.
1. Humidification and Secretion Management
Bypassing the nose and mouth means inhaled air is dry, leading to thick, difficult-to-clear secretions.
– Hydration: Drink plenty of fluids (as medically advised) to keep secretions thin.
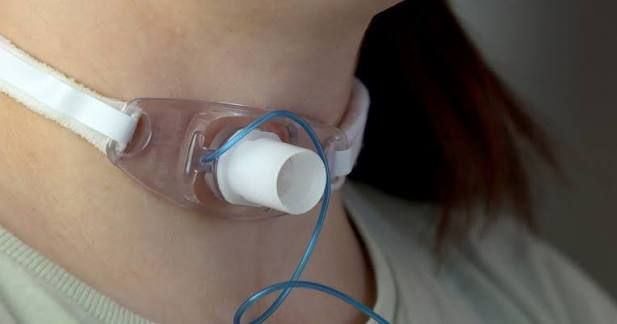
– Humidification: Use a warm or cold mist humidifier in the main living area or a Heat and Moisture Exchanger (HME) device attached to the tube, as recommended by your clinical team.
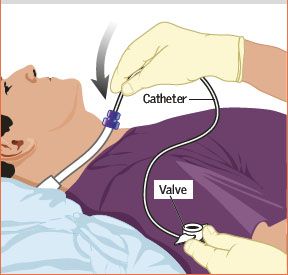
– Suctioning: Learn and practice the proper technique for suctioning to remove secretions that cannot be coughed up. Never suction more often than necessary to prevent mucosal trauma.
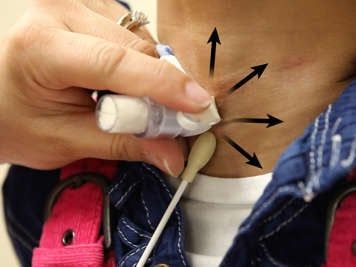
2. Stoma (Skin) Care
The incision site requires regular cleaning to prevent infection and skin breakdown.
– Cleaning Frequency: Clean the stoma area at least twice daily (or more frequently if secretions are heavy) using sterile normal saline or sterile water and a cotton-tipped applicator or gauze.
– Dressing Change: Replace the tracheostomy gauze/dressing whenever it becomes soiled or moist.
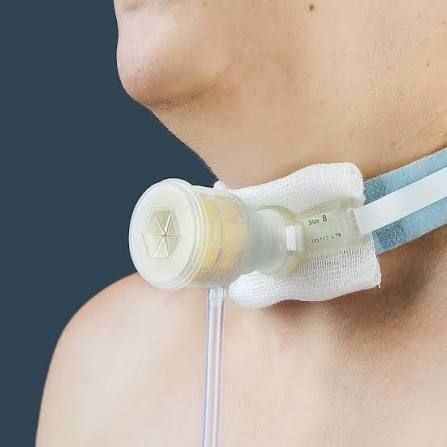
– Securing the Tube: Ensure the neck ties or Velcro straps are securely fastened but allow one finger to fit snugly between the tie and the neck. This is a two-person procedure to prevent accidental tube displacement.
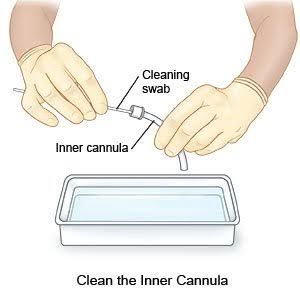
3. Tube Maintenance (Inner Cannula)
If your tube has a removable inner cannula, it must be cleaned or replaced regularly (typically up to every 8 hours, or as needed) to prevent blockage.
– Clean or Replace: Follow your specific tube manufacturer’s instructions for cleaning (usually soaking and brushing in hydrogen peroxide and sterile water) or replacement.
– Emergency Kit: Always keep a fully stocked emergency kit nearby, including an obturator, a tube of the same size, and one size smaller.
🛑 When is it Time to Decannulate?
Decannulation (tube removal) is a multi-disciplinary decision that only occurs once the initial indication for the tracheostomy has fully resolved and the patient can breathe safely through their natural upper airway.
According to major medical review protocols, successful decannulation hinges on four key areas:
1) Airway Patency – There is no significant narrowing or obstruction in the upper airway (often confirmed via laryngoscopy/bronchoscopy).
2) Secretion Clearance – The patient has a strong, effective, and independent cough to clear secretions without needing frequent suctioning.
3) Swallowing/Aspiration Risk – The patient demonstrates coordinated, aspiration-free swallowing (often confirmed by a Speech-Language Pathologist via specialized tests).
4) Tolerance to Capping/Spigot – The patient can comfortably tolerate occluding (capping or corking) the tube for a minimum of 48 to 72 hours without signs of respiratory distress.

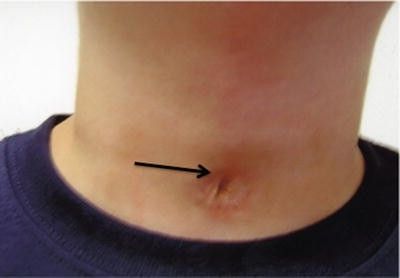
The process is often gradual, involving downsizing the tube size and using a speaking valve or cap to test the natural airway before the final removal. Once removed, the stoma is covered with a dressing and typically closes naturally within a few days.


Leave a comment